When something suddenly goes wrong with a computer, remote support is one of the fastest ways to fix the problem without visiting in person.
Even if you’re not familiar with computers, you only need to install a small program and someone can view your screen and help diagnose or repair the issue directly.
In this guide, we’ll show you how to connect remotely using UltraViewer, a simple remote desktop tool. Just follow the steps below—from installation to connection—and you’ll be able to connect with the other person in about one to two minutes.
Let’s go through the UltraViewer setup and usage step by step.
UltraViewer Download
UltraViewer Installation Guide
1. Run the UltraViewer download file above.
After downloading, you can launch it immediately.
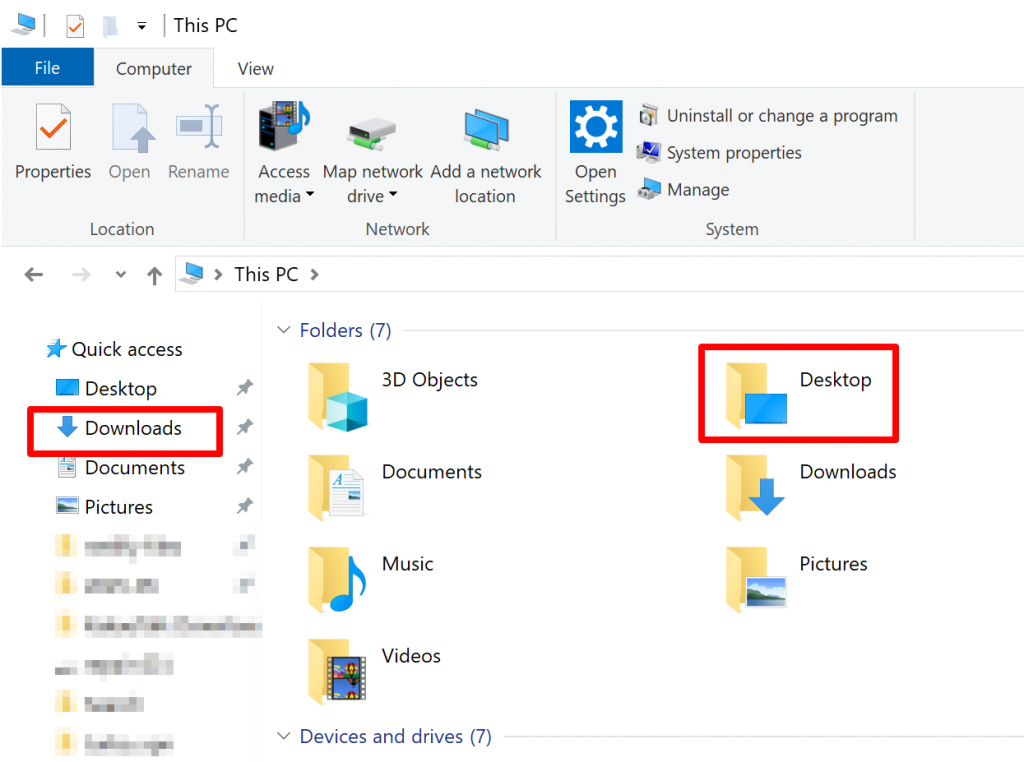
If you cannot find the file, close your browser and go to the desktop, then click “This PC”.
Open the Downloads folder and locate the installation file (UltraViewer_setup_6.6_kr.exe). Double-click it to start.
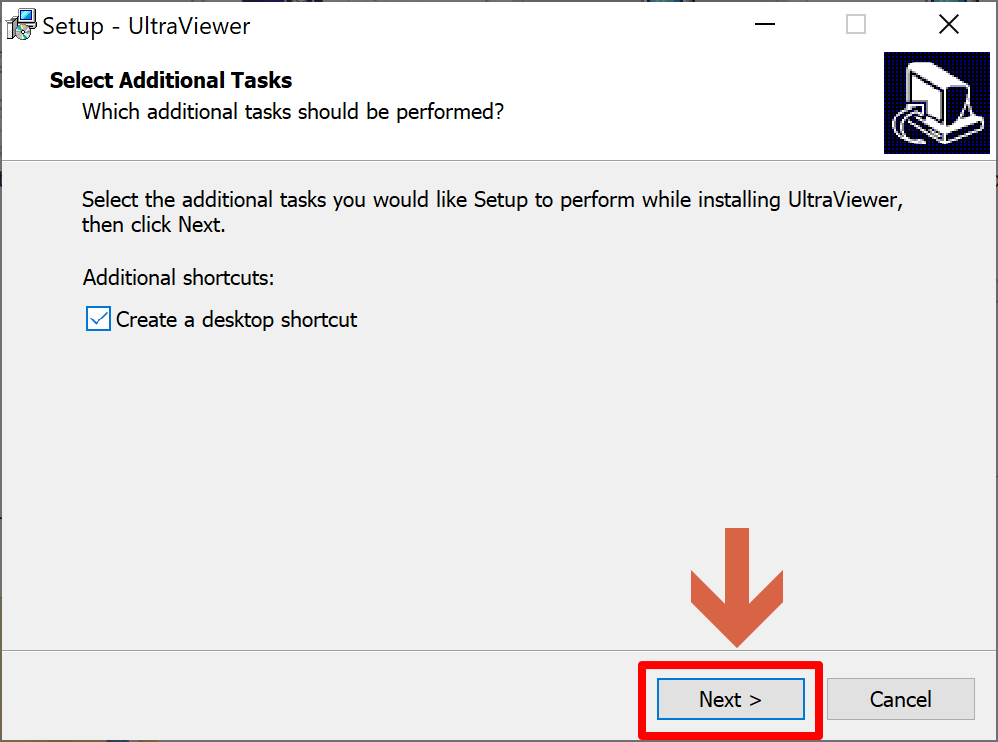
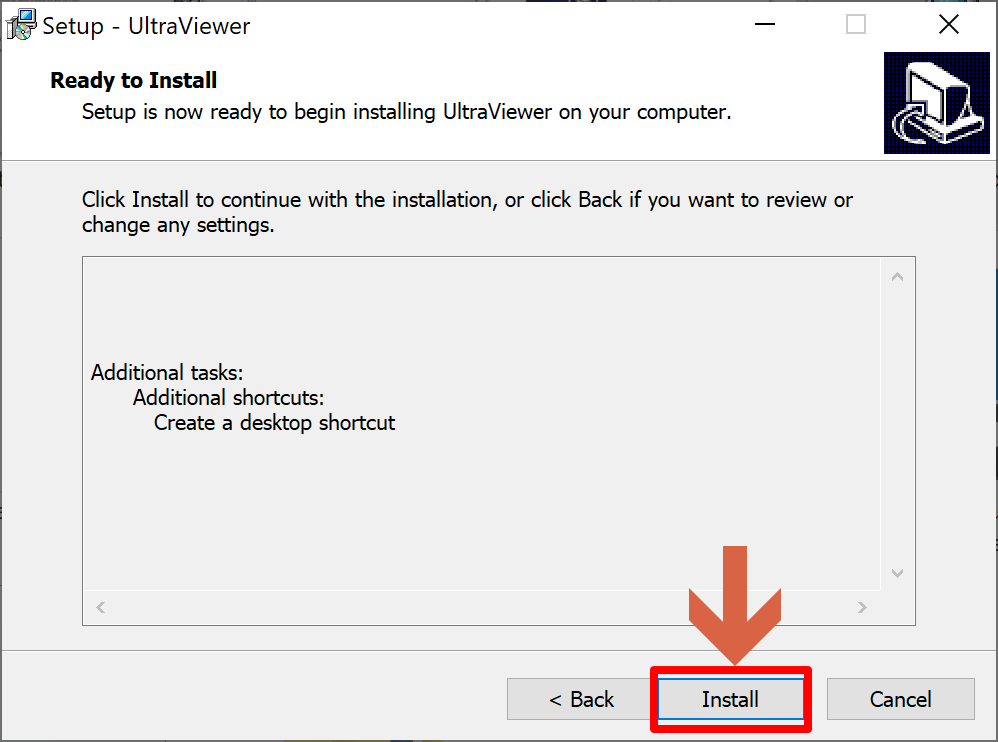
2. When the setup window appears, click [Next].
Then click [Install] to begin the installation.
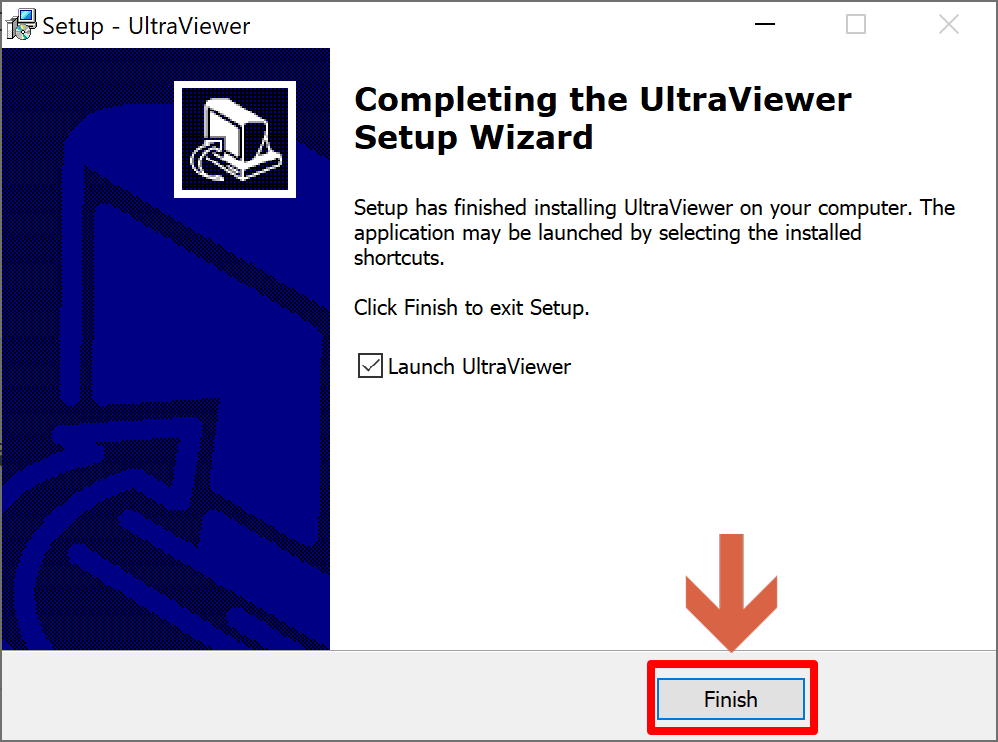
3. After installation, click [Finish].
UltraViewer will start automatically once installation is complete.
If it does not launch, you will see a blue monitor icon on your desktop. Click it to run the program.
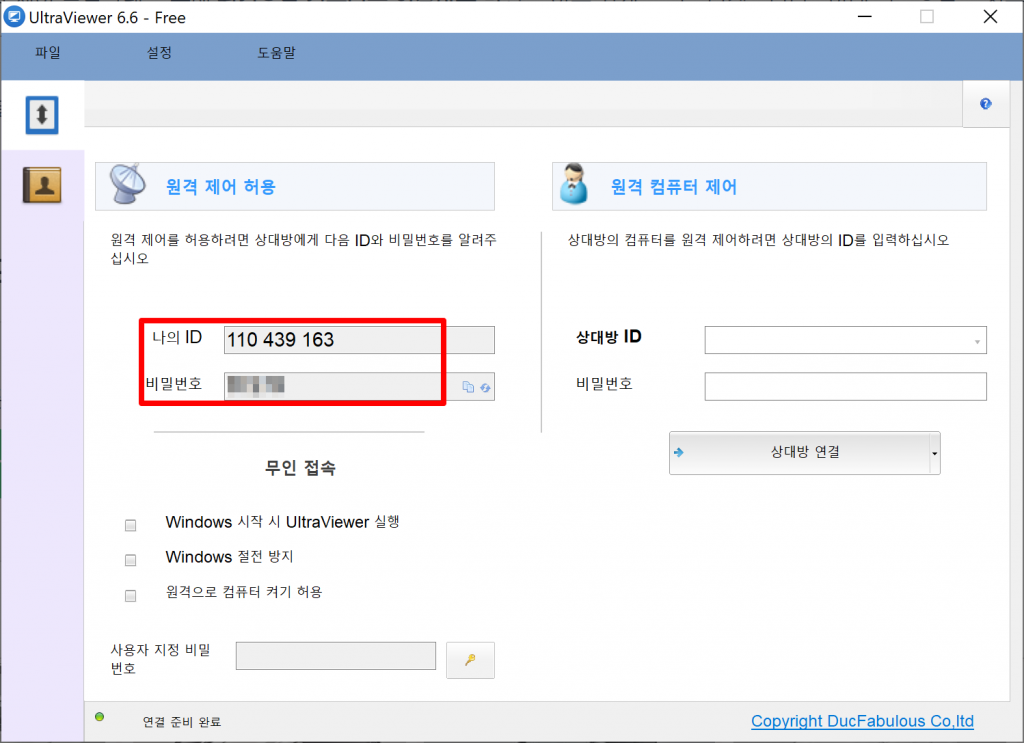
4. Share your ID and password shown on the left side with the other person.
Taking a photo and sending it by message is usually the easiest way.
In the past, many people used TeamViewer, but as it became more restricted for free personal use, UltraViewer has become a convenient alternative. The interface and operation are very similar, so it is easy to use.
Once installed, simply provide your ID and password to the other person and the remote support session will begin.