Step-by-Step Guide: Creating macOS Bootable USB with TransMac
Follow these precise steps to create a bootable USB drive for macOS reinstallation using a Windows PC.Step 1: Connect USB & Run as Administrator
Plug your USB drive into your PC. Right-click the TransMac program and select “Run as Administrator.”
Step 2: Restore with Disk Image
In the device list on the left, right-click your USB drive and select [Restore with Disk Image].
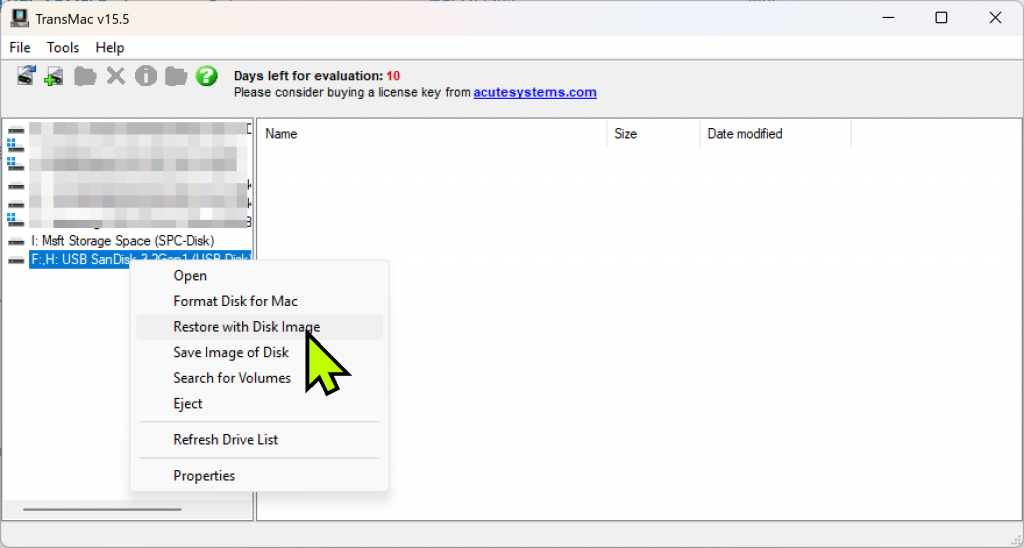
※ Warning: A warning will appear stating that all data on the USB will be deleted. Click ‘Yes’ to proceed.

Step 3: Load macOS DMG File
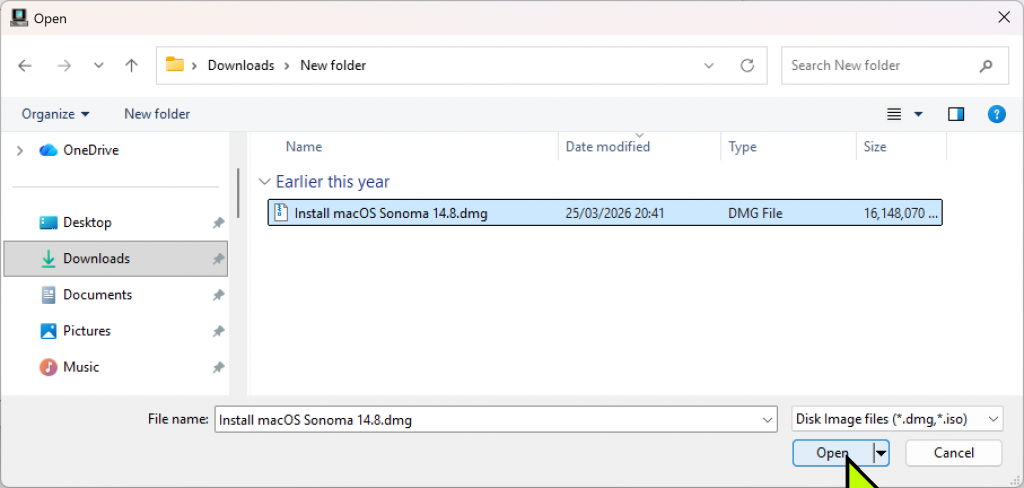
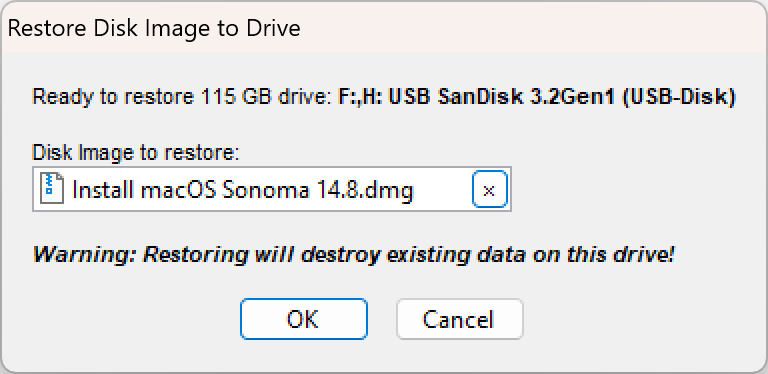
Locate and select your macOS DMG file. (Note: ISO files will not work; it must be a DMG file.) Click ‘OK’ to start the process.
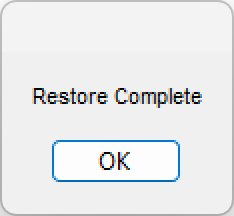
Step 4: Writing Progress (10-20 Minutes)
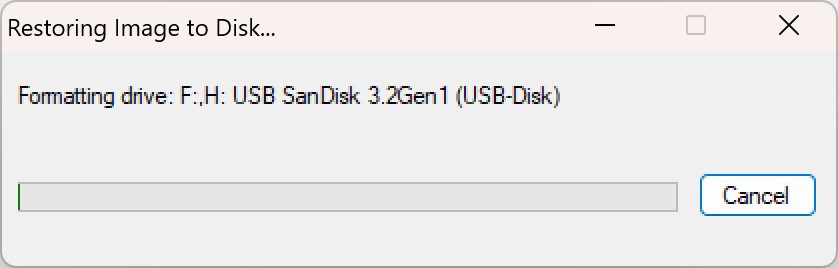
The copying process will begin. Depending on your system and USB speed, it takes about 10 to 20 minutes. A “Restore Complete” message will appear once finished.
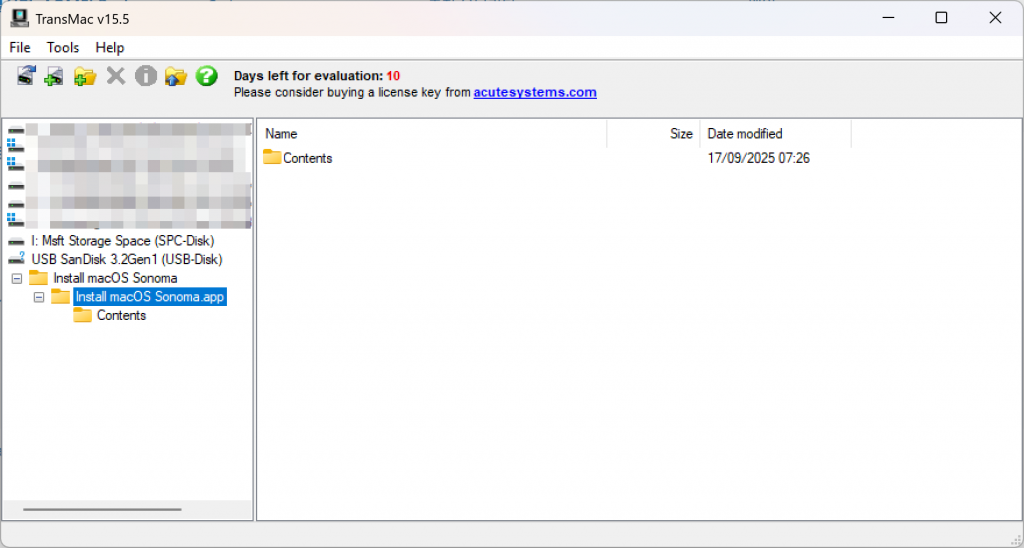
Step 5: Verify Completion
Once finished, Windows File Explorer will not show the contents, but inside TransMac, you should see files like ‘Install macOS’. This means the drive is ready.
⚠️ Crucial Post-Creation Notes
1. If Windows prompts you to “Format the disk” after finishing, DO NOT format it.
2. Windows is simply unable to read the Mac format (APFS/HFS+); the USB is perfectly fine.
3. Plug the USB into your Mac and restart while holding the Option (Alt) key to enter the installation menu.
Verdict: Using TransMac for Bootable Drives
In my experience, TransMac is highly intuitive because it focuses purely on its core function without unnecessary bloat. Converting a DMG file to a bootable USB is a straightforward process that even beginners can follow. While the 15-day trial period is a limitation, it is more than enough for a one-time emergency fix. Overall, it’s a lightweight and reliable tool that is essential for any Windows user needing to service a Mac.Note: TransMac is a Windows utility for handling macOS-specific tasks and file systems.