Over time, your PC often accumulates identical files scattered across various folders—sometimes under different names or simply as accidental copies. Duplicate Finder is more than just a file finder; it is a precision management tool that helps you compare the exact locations of duplicates so you can choose which ones to remove.
Selective Deletion: Allows you to manually decide which file to keep as the “original” and which to discard.
Efficient Space Recovery: Systematically tracks down wasted data that is difficult to find manually.
How to Use Duplicate Finder
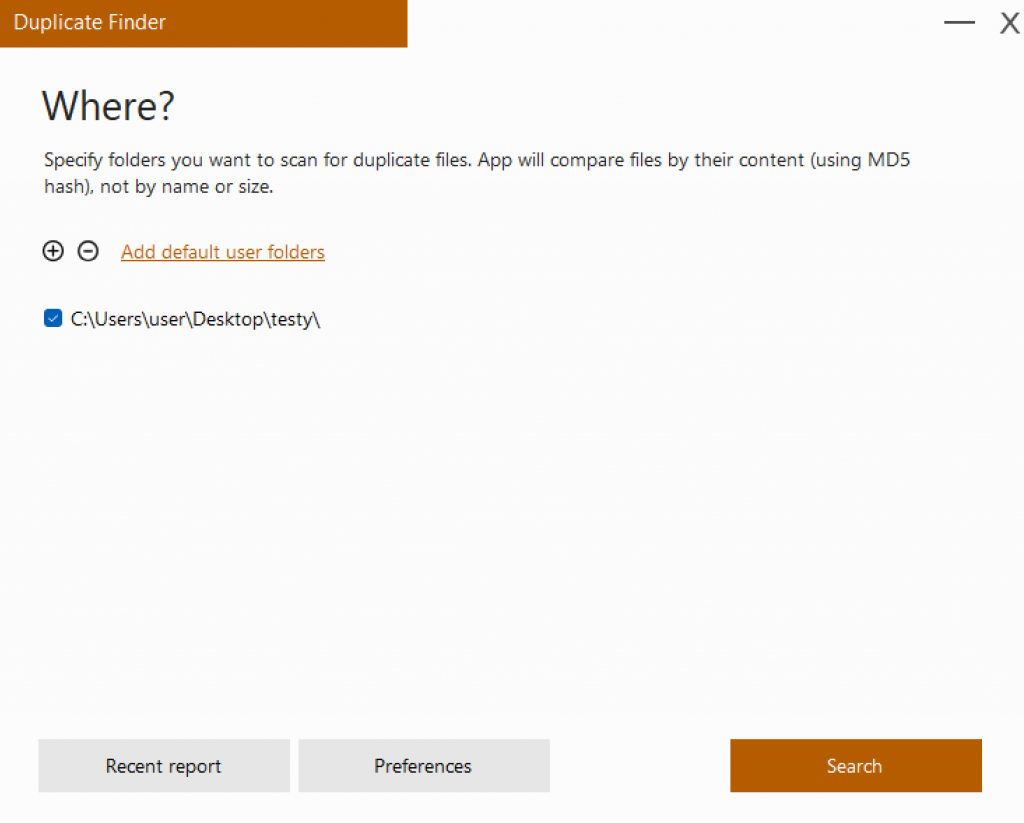
After launching Duplicate Finder, select the entire drive or a specific folder you wish to analyze. Click ‘Search’, and the program will analyze the hash values of your data to precisely identify duplicates. Scan times vary based on the number and size of your files.
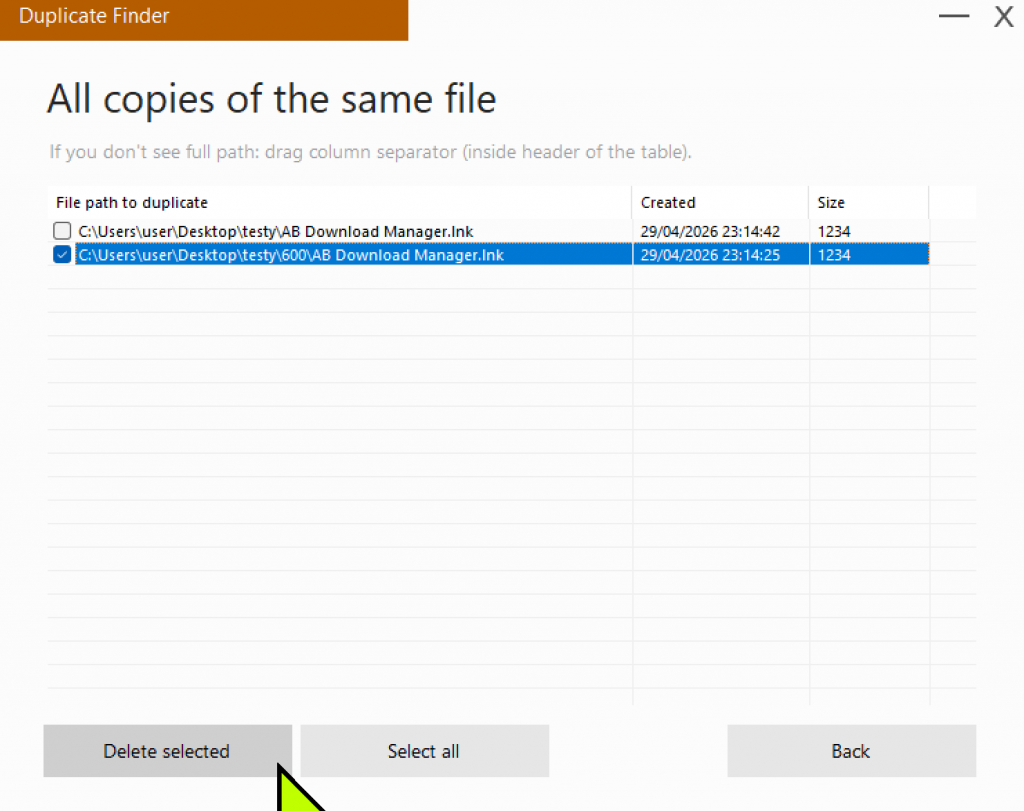
Once the scan is complete, a detailed report window will appear listing all duplicate files. By selecting a specific file, you can see the exact path for each copy—allowing you to see exactly which files are sitting in both your C: and D: drives.

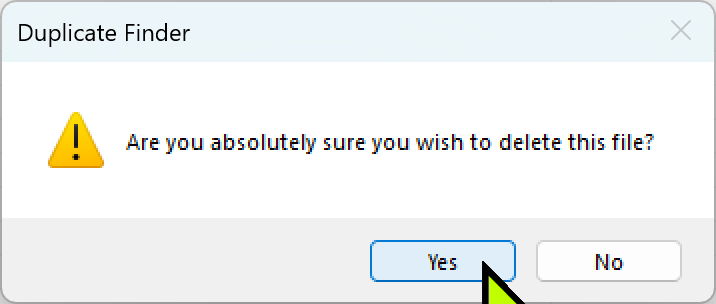
Once you’ve identified the duplicates, you can choose which file to keep and which to discard. Select (check) the files in the redundant locations and execute the delete command to reclaim your disk space instantly.
My Review: Cleaning Up with Duplicate Finder
I found Duplicate Finder incredibly straightforward for identifying and clearing out duplicate data. The interface is clean, focusing strictly on core functionality, which makes it very efficient for quick cleanup tasks.
Note that scanning very large folders or entire drives can be time-consuming; this is expected when performing a precise hash-based scan. I recommend running the scan and letting it work in the background while you focus on other tasks.
Note: Always double-check the file paths in the report before deleting to ensure important documents are not accidentally removed.