We’ve all been there: accidentally saving over an important document or losing work due to a file corruption. Relying on simple copy-paste is risky. To truly protect your data, you need a robust backup strategy that keeps previous versions of your files.
By keeping a history of your file modifications, you can revert to a previous state at any time if something goes wrong. This structure ensures that your latest files are always safe, while historical versions remain available just in case.
With FreeFileSync’s ‘Versioning’ feature, you can automatically store a specified number of past versions every time a file is modified, providing a reliable safety net for your most important work.
Professionals needing to preserve work history for documents or projects.
Anyone looking to build a professional-grade, automated data backup system.
| FreeFileSync | |
| Function: | File Sync & Versioned Backup |
| Features: | Open Source, Free, Reliable |
5-Step Guide to FreeFileSync Versioned Backups
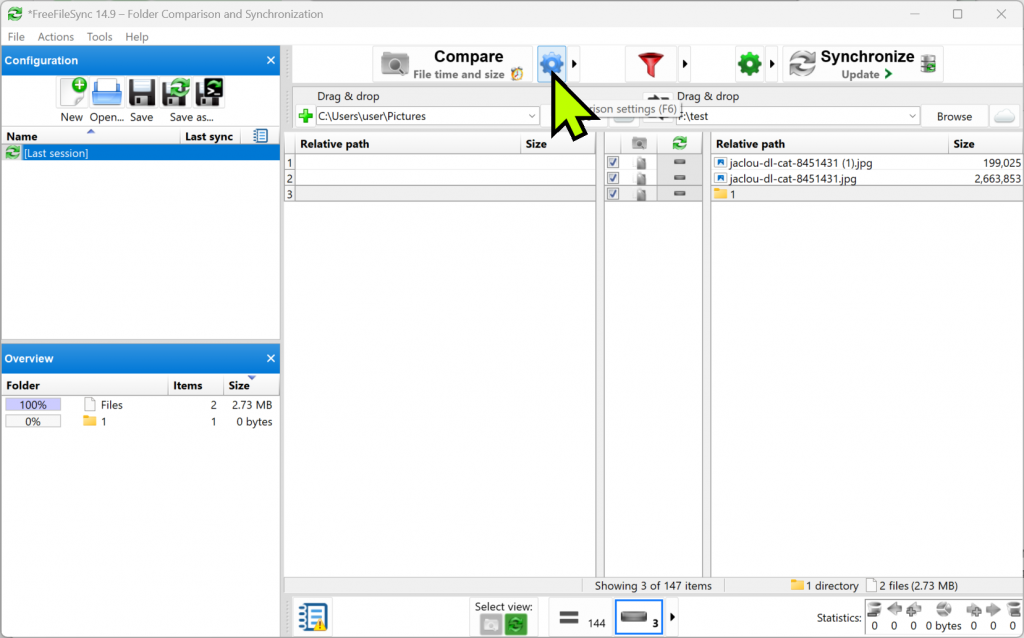
Click the left folder icon at the top to select your [Source Folder], and the right icon to specify your [Backup Folder].
Then, click the blue [Gear icon (Comparison Settings)] in the center.
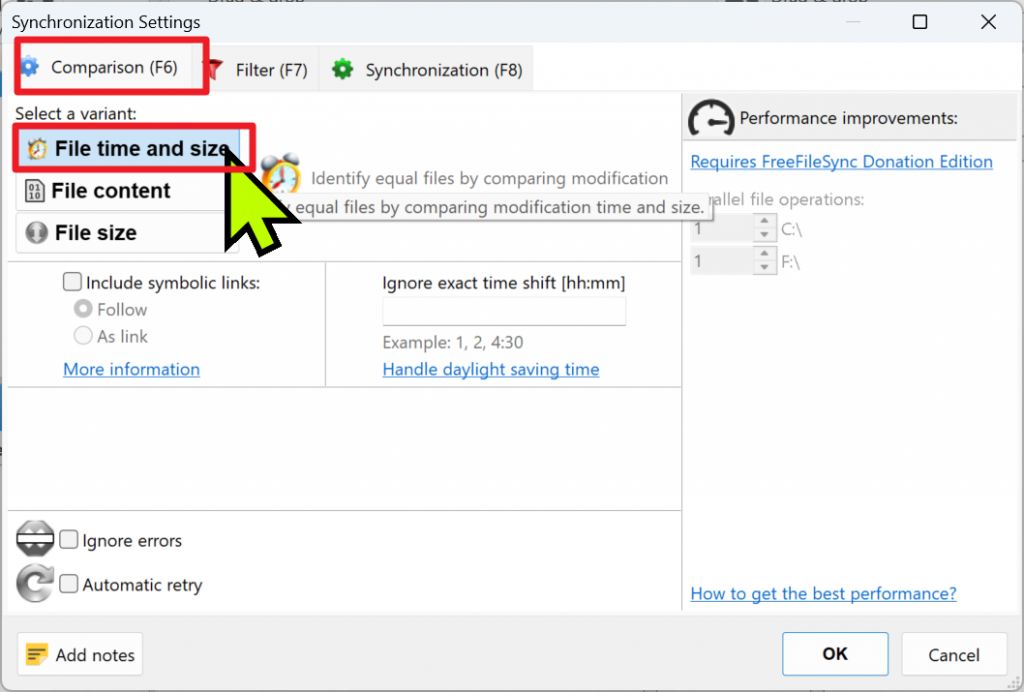
In the Comparison tab, choose “File time and size”. This is essential for detecting changes in file content or modification timestamps.
Click the green [Gear icon (Synchronization Settings)]. Select “Update” as the sync mode, and check the [Versioning] option. This ensures that old files are moved to a designated folder before being overwritten.

In the Versioning settings, set the “Maximum number of versions” to 3. Now, the system will keep the 3 most recent historical versions of your files. Once a 4th change occurs, the oldest version is automatically purged.
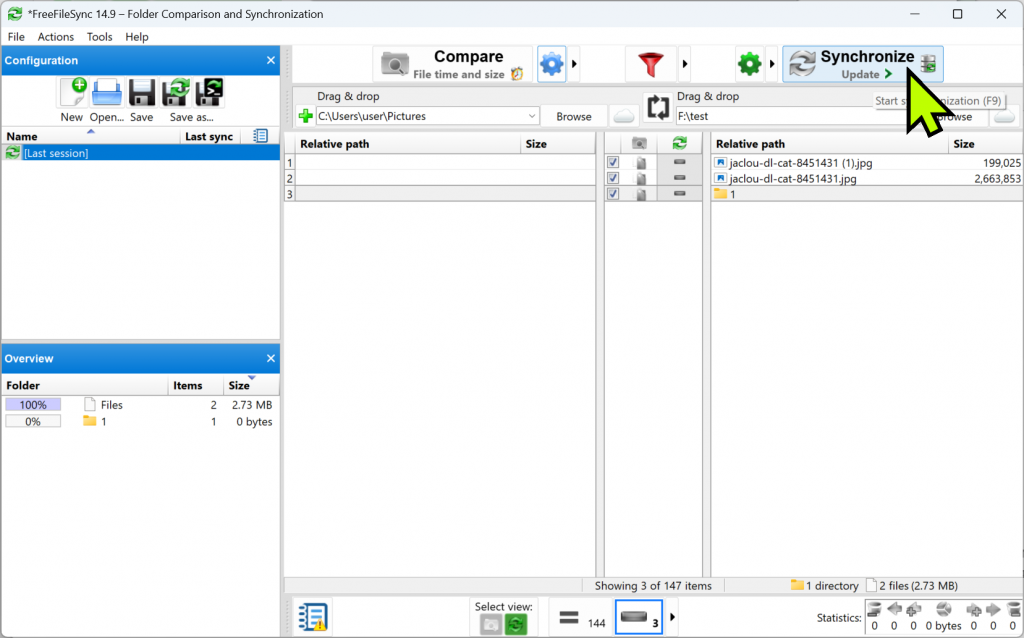
Press [Compare] at the top to review the list of changes, then click [Synchronize]. Your backup is now active, and you can find your historical versions in the specified folder.
Final Thoughts
I personally use this for Excel and development files. There have been times when I accidentally saved corrupted or wrong data, but because I had versioning enabled, recovery was a breeze.
Standard sync tools often copy mistakes over to your backup, but FreeFileSync’s versioning keeps a historical record, providing true peace of mind for critical projects.
Official Website: https://freefilesync.org/