⚠️ Disk Image Backup Failed Due to MFT Corruption?
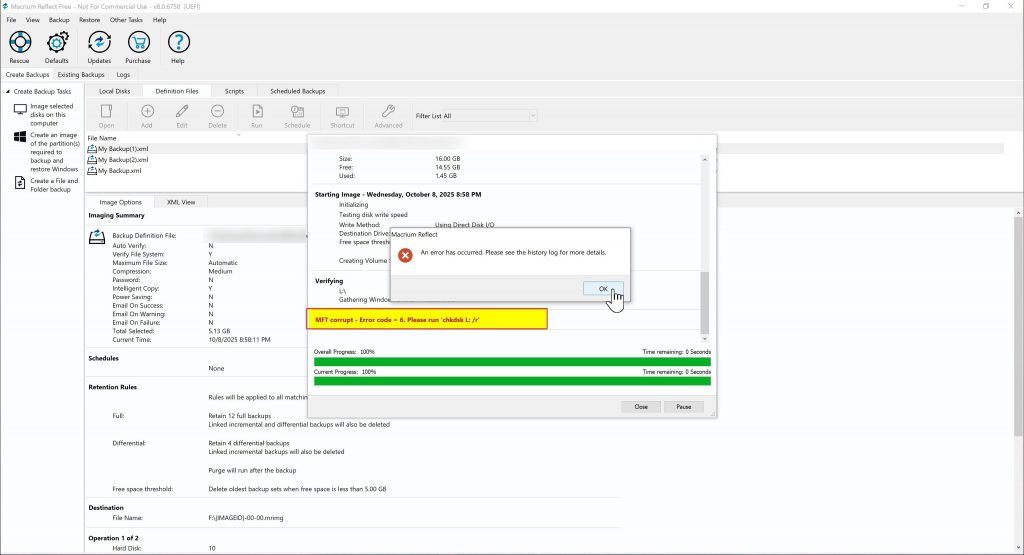
When creating a full disk image backup (hard copy) for system recovery, you may encounter a failure due to a corrupted MFT (Master File Table).
If your SSD or HDD is no longer booting, attempting recovery directly from the original drive can be risky—it might cause additional data damage. While the original SSD may still be in usable condition, disk imaging tools sometimes throw MFT errors and prevent copying.
A common example is when using Macrium Reflect:
trying to clone a non-bootable disk may trigger a critical error and halt the process.
In such cases, a powerful alternative is available:
the R-Drive Image tool.
What is R-Drive Image?
R-Drive Image is a professional disk imaging software developed by R-Tools Technology Inc., a company known for data recovery solutions.
-
While it’s a paid tool, it offers a 30-day free trial with full functionality and no limitations during the trial period.
-
Unlike other tools, it can successfully image disks with MFT corruption—making it ideal for data rescue operations.
Download R-Drive Image
Key Features of R-Drive Image
-
Create images from damaged drives
-
Even partitions that can’t be detected due to MFT corruption can be backed up sector-by-sector.
-
-
Clone without risking further damage
-
Supports read-only sector copying without touching the source drive.
-
This ensures you can safely retrieve data without introducing new damage.
-
-
Boot test from the backup image
-
After cloning, you can check if the system is bootable by connecting the image to another PC.
-
You can also run Check Disk or other repair tests safely on the backup.
-
-
Use with TestDisk for deeper recovery
-
Once you’ve cloned the drive with R-Drive Image, you can open it with TestDisk for partition recovery or boot sector repair.
-
How to Use R-Drive Image
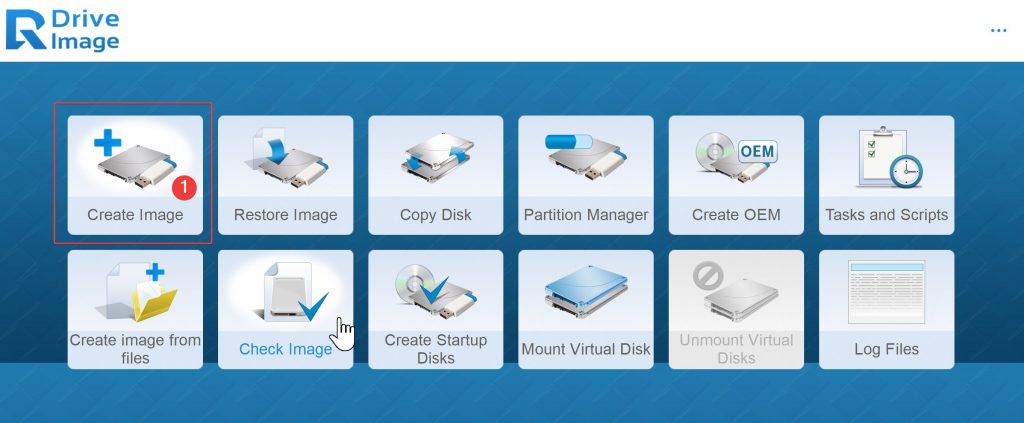
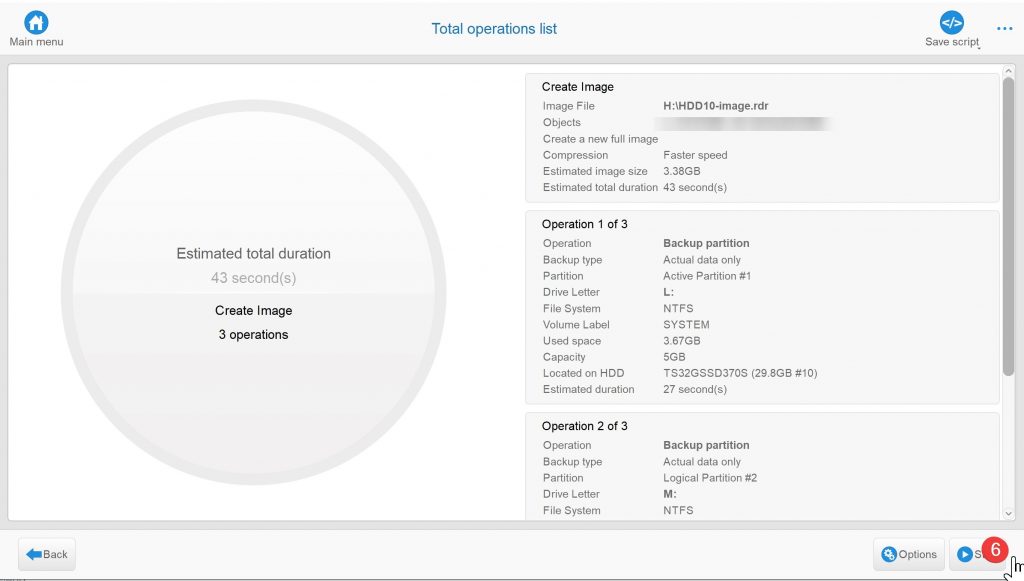
1. Select “Create Image”
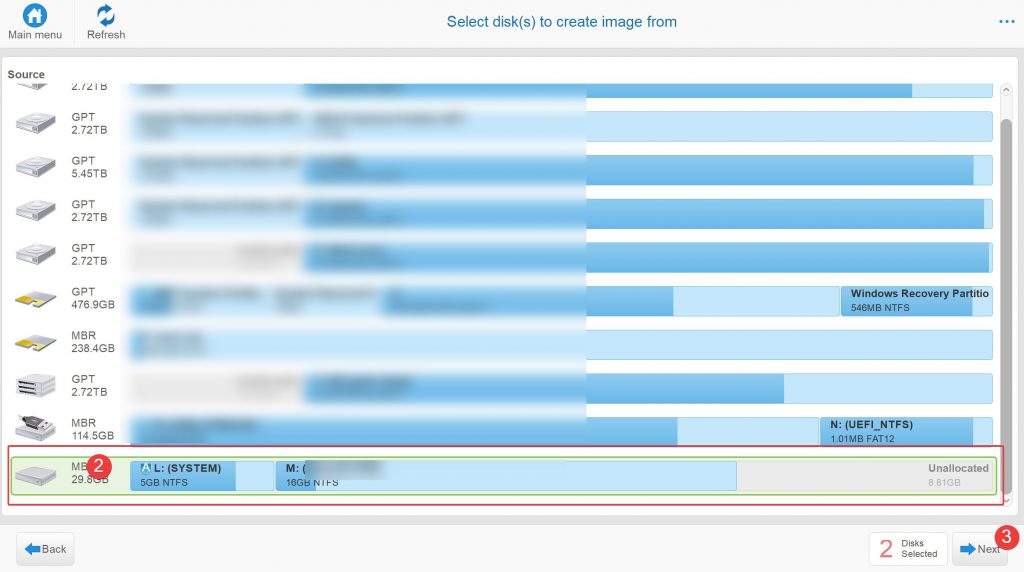
2. Choose the disk you want to image.
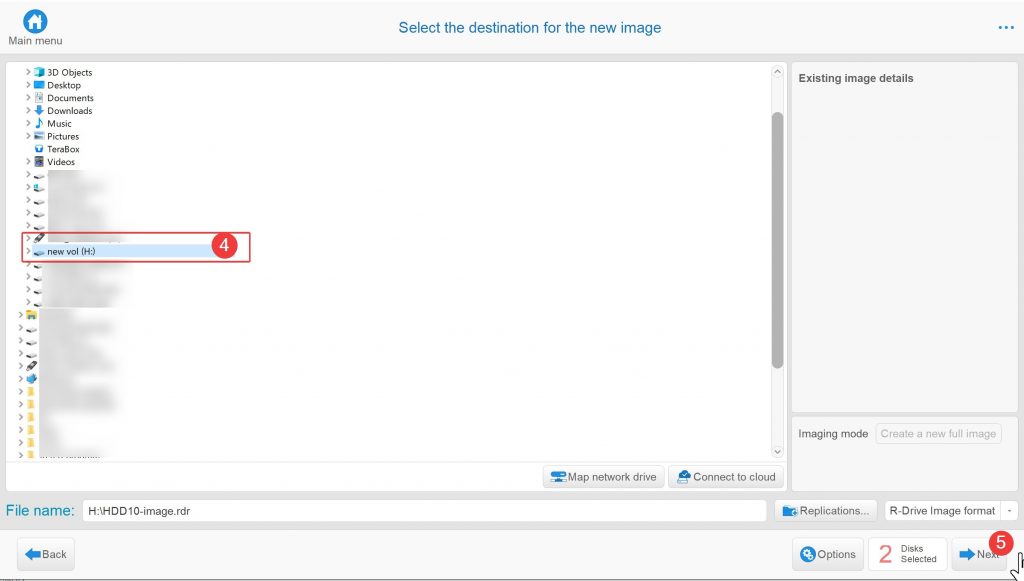
3. Select a different disk as the save destination.
The image will be compressed and stored as a single `.rdr` file.
4. Click Start.
The image file will be created and saved to the selected drive.
5. To restore the image to a new SSD or HDD, select the “Restore Image” option.
You’ll see your `.rdr` image file listed.
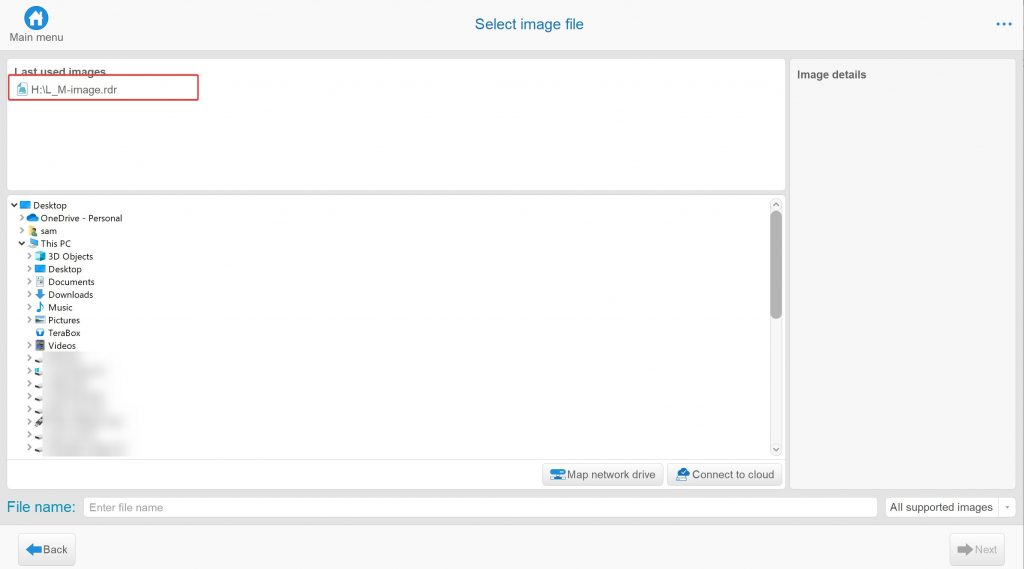
Select the image file, choose the new SSD or HDD, and restore—it works like a full hard disk copy.
Why Use Create Image + Restore Instead of Direct Clone?

While direct “Copy Disk” is available, creating an image first lets you reuse it later without the source disk.
Also, it prevents common mistakes—like accidentally overwriting your original drive when selecting source/destination.
By imaging first, then restoring, you add a safety layer and avoid irreversible data loss.