When working on a computer, there are times when you keep pressing the same key repeatedly or rely heavily on certain shortcuts. This is where AutoHotkey comes in. With just a few lines of code, you can fully customize your keyboard and mouse behavior. From simple automated inputs to complex macros — all for free!
What is AutoHotkey?
AutoHotkey is a powerful scripting language for Windows that lets you automate your keyboard, mouse, and hotkeys. For example, you can assign “CTRL+C” to a single key press or launch programs with one click. It’s perfect for increasing productivity through automation.
How to Download and Install AutoHotkey
Just download the file below and follow the simple installation process.
Download AutoHotkey 2.0.19 (Latest Version)
A powerful scripting tool for automating repetitive tasks, assigning hotkeys, and increasing productivity.
The latest version offers improved stability and performance.

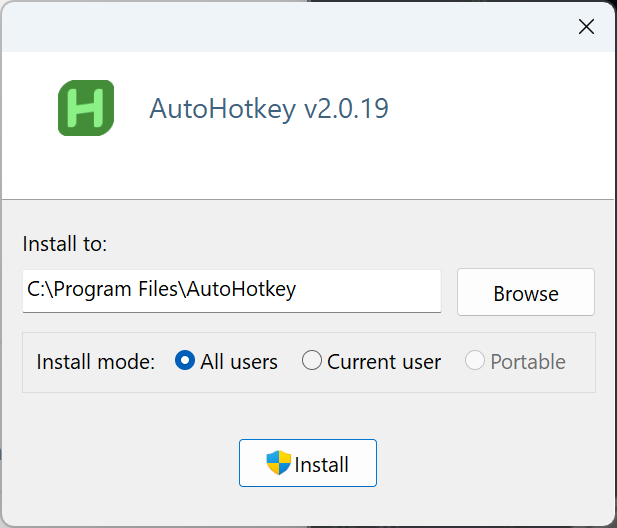
1️⃣ After downloading, install it in just a few clicks.
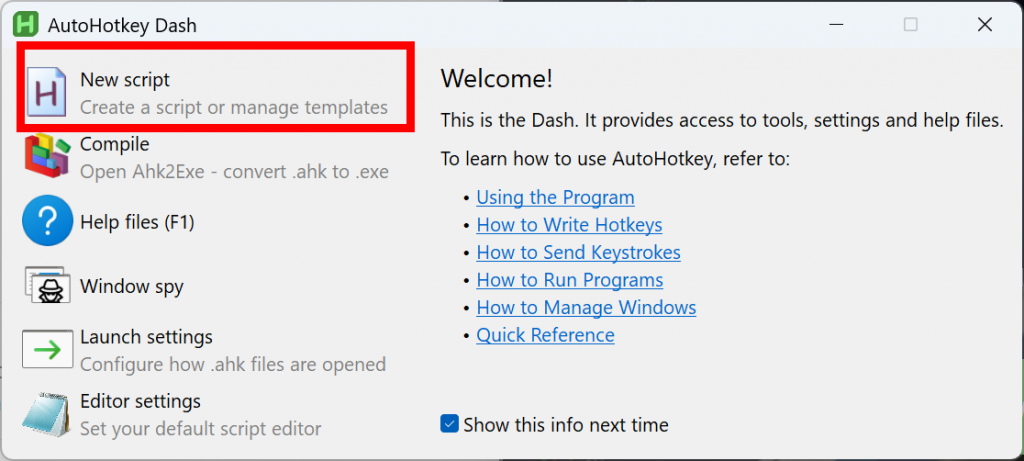
2️⃣ Click on “New Script” to start creating your own AutoHotkey configuration.
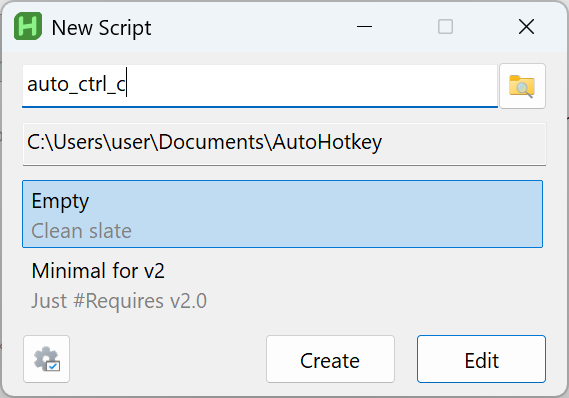
3️⃣ Name your script file (e.g., auto_ctrl_c).
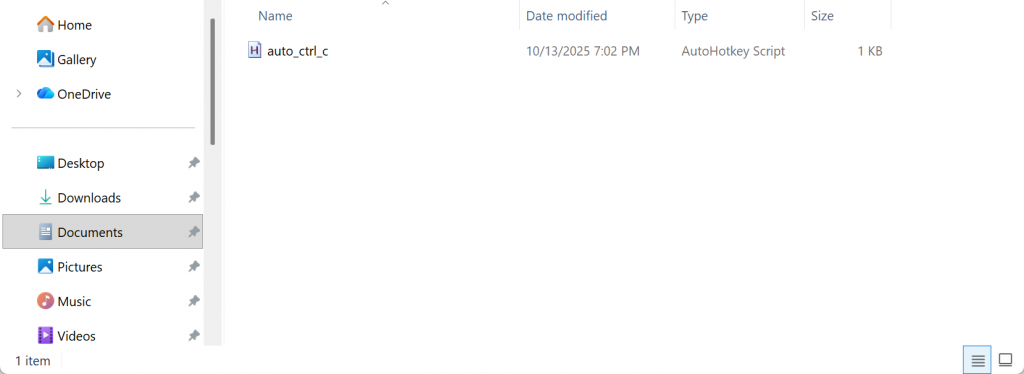
4️⃣ The script will appear in your “Documents > AutoHotkey” folder. It will be an empty file until you define its behavior.
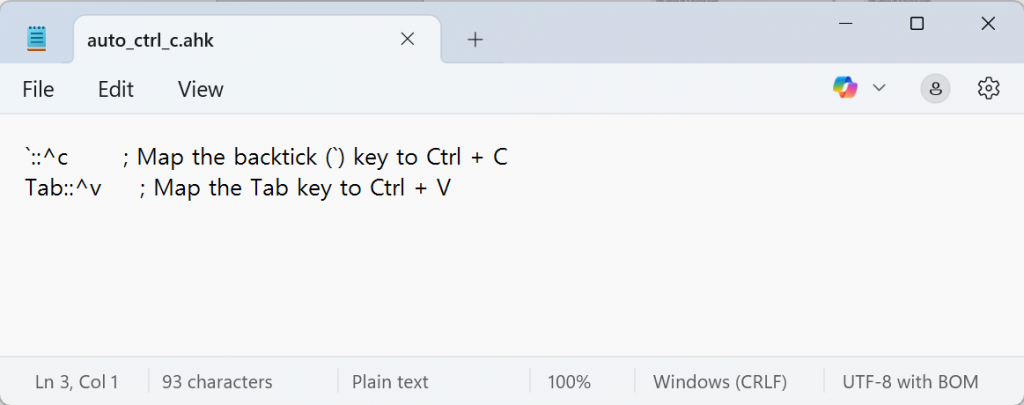
5️⃣ Open the script file in Notepad. For example, you can remap the tilde (~) key to Ctrl+C, and the Tab key to Ctrl+V.
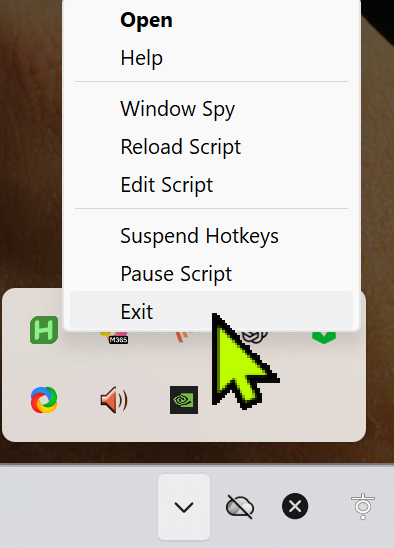
6️⃣ To stop AutoHotkey, click its tray icon in the Windows taskbar and choose “Exit”.
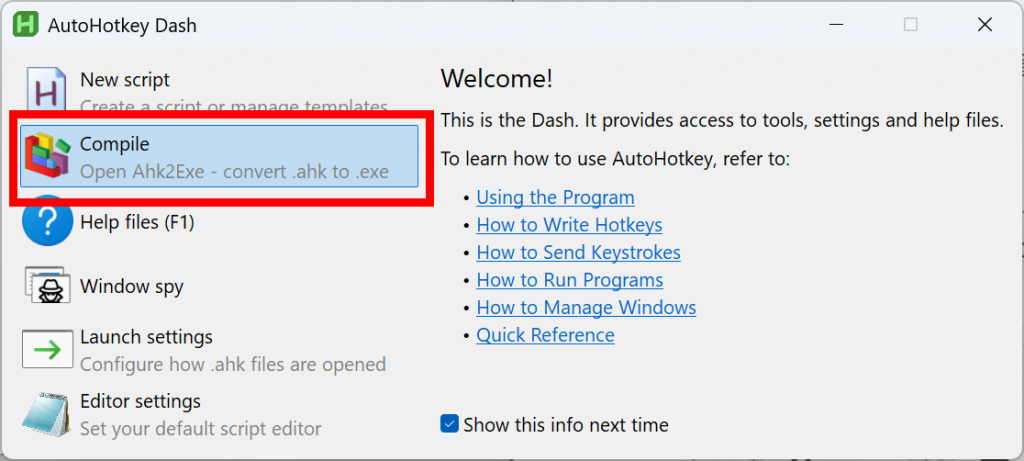
7️⃣ Want to run your AutoHotkey script on another PC without installing AutoHotkey? You can compile the script into a .exe file!
8️⃣ Load your script in the Source field and click “Convert”.
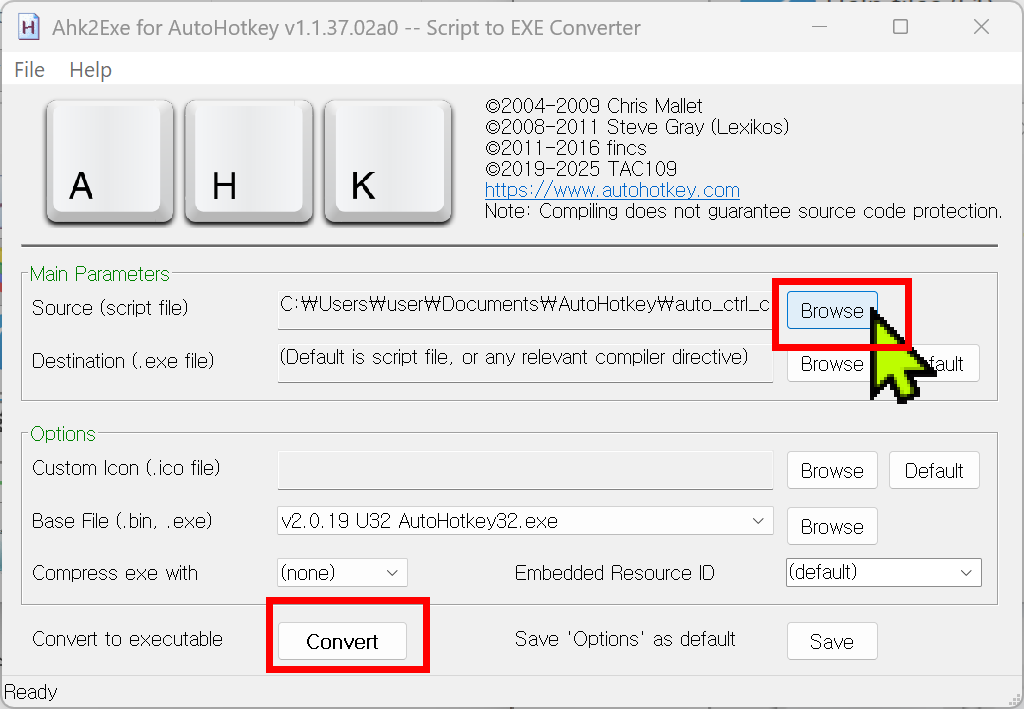
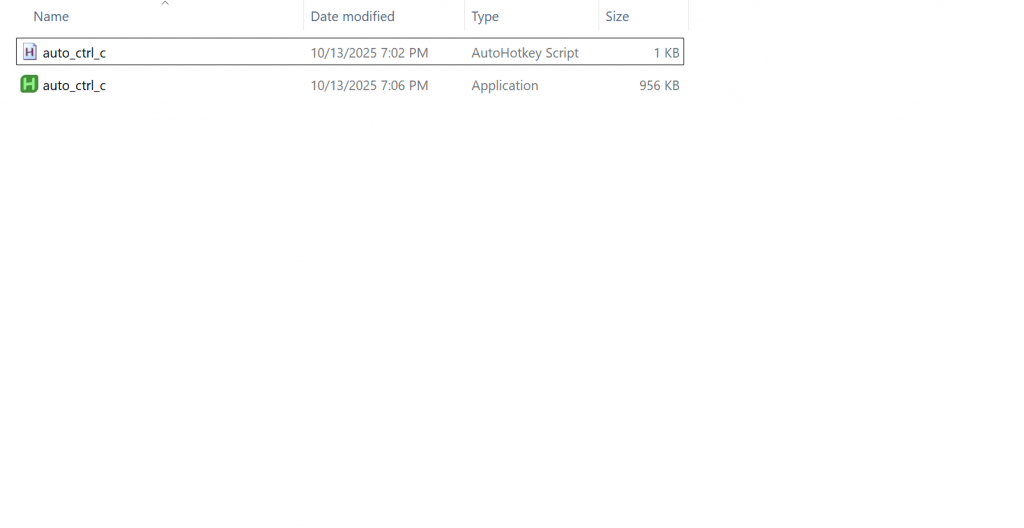
9️⃣ The .exe file will be saved in your Documents > AutoHotkey folder. You can now carry it on a USB drive and run it on any Windows PC — no installation needed!
Download Ready-to-Use Ctrl+C / Ctrl+V Script
Don’t want to write code?
Just download the files below and use them directly!
Download auto_ctrl_c.exe (0.93MB)
Download auto_ctrl_c.ahk (AHK source)
AutoHotkey Alt Key Notation
In AutoHotkey, the Alt key is represented with the ! symbol.
| ! | Alt (Left/Right) | !c:: → Alt + C |
| !^ | Alt + Ctrl | !^x:: → Alt + Ctrl + X |
| !+ | Alt + Shift | !+f:: → Alt + Shift + F |
| !# | Alt + Win | !#s:: → Alt + Windows + S |
AutoHotkey Ctrl Key Notation
In AutoHotkey, the Ctrl key is represented with the ^ symbol.
| ^ | Ctrl | ^c:: → Ctrl + C |
| ^+ | Ctrl + Shift | ^+s:: → Ctrl + Shift + S |
| ^! | Ctrl + Alt | ^!v:: → Ctrl + Alt + V |
| ^# | Ctrl + Win | ^#n:: → Ctrl + Win + N |
It might seem confusing at first, but you’ll get used to it quickly. Once you start using AutoHotkey, it’s hard to go back — even mapping Ctrl+C and Ctrl+V to unused keys can save a lot of time!
Try AutoHotkey today and take control of your keyboard!