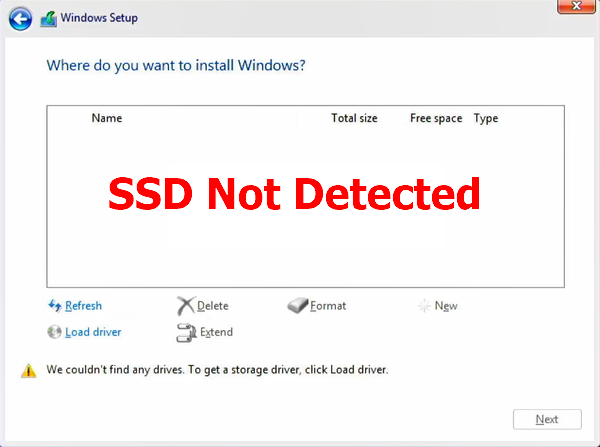
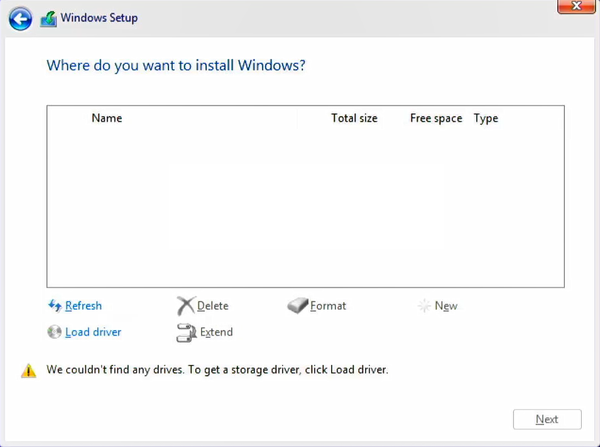
If you’re trying to install Windows on a computer with an If you’re attempting to install Windows on a computer with an Intel 11th Gen Tiger Lake processor and encountering the “SSD Not Detected During Windows Installation on Intel 11th Gen” issue, you’re not alone. This is a common problem caused by Intel Volume Management Device (Intel VMD) technology, designed to optimize data handling and power consumption. However, to resolve this, you’ll need to install the additional IRST (Intel Rapid Storage Technology) drivers so that the Windows installer can recognize your SSD.
This guide will walk you through the steps to resolve this Intel 11th Gen Windows installation issue effectively.
1. Why SSD is Not Detected During Windows Installation on Intel 11th Gen
Intel’s 11th Gen Tiger Lake processors integrate the Intel VMD technology. While it improves system performance, it necessitates installing specific drivers during the Windows installation process. Without the IRST drivers, the Windows installer cannot detect the storage device, leaving you unable to proceed.

2. Required Tools and Preparation
Before you begin, ensure you have the following:
- A bootable Windows installation USB drive.
- IRST Driver Files (Download link provided below).
- A system with Intel 11th Gen Tiger Lake processor.
3. Steps to Resolve the Intel 11th Gen Windows Installation Issue
Step 1: Download and Extract the IRST Driver
- Download the IRST driver file from the link below:
IRST download
- Extract the downloaded file and confirm the folder contains 12 files.
- Copy the extracted files to the root directory of your bootable Windows USB drive.
Step 2: Boot from the Windows Installation USB
- Insert the USB drive into the computer where you want to install Windows.
Step 3: Load the IRST Driver
- In the Windows installer, proceed to the screen where storage devices should appear.
- If no drives are listed, click Load Driver.
- Browse to the folder on the USB drive where you copied the IRST driver files.
- Select the driver and click Next.
- The storage devices should now appear.
Step 4: Continue with Windows Installation
- Select the appropriate drive for installation.
- Format the drive if necessary, then proceed with the installation as usual.
- Follow the on-screen prompts to complete the setup.
4. Tips for a Smooth Installation
- Verify Driver Compatibility: Ensure the downloaded IRST driver version matches your system’s chipset.
- Use a Reliable USB Drive: A properly configured USB installer prevents booting issues.
- Update BIOS: Check if your system’s BIOS is updated to the latest version for better hardware compatibility.
5. Why Does Intel 11th Gen Require an IRST Driver?
The Intel VMD feature on Intel’s 11th Gen processors optimizes data transfer and power efficiency but makes storage devices invisible to the standard Windows installer. The IRST driver bridges this gap, allowing the installer to recognize the storage devices connected to the system.
Install Windows Seamlessly on Intel 11th Gen Computers
Dealing with the Intel 11th Gen Windows installation issue doesn’t have to be a hassle. By downloading and using the appropriate IRST driver, you can ensure a smooth installation process. Follow this guide step-by-step to resolve the missing hard drive error, and you’ll be up and running in no time.
Download the required drivers from the link below and get started today
Secure your system setup and make the most of Intel’s advanced technology!
Fix SSD Not Detected During Windows Installation on Intel 12th Gen PCs
Fix SSD Not Detected During Windows Installation on Intel 13th Gen PCs
